Happy Easter Bread
A simple loaf for a chilly Holy Saturday, and a reminder that some of the best things we offer each other are made by hand

Saturday morning has come in chilly here, Holy Saturday for some of us, with that soft kind of hazy fog that makes the world seem to wake up slowly and politely. But we are meant to reach 69 degrees today, which feels like a little Easter kindness all its own. It will be a lovely day for Mackie and Piper to run the yard, noses down, looking for treasures only dogs can understand.
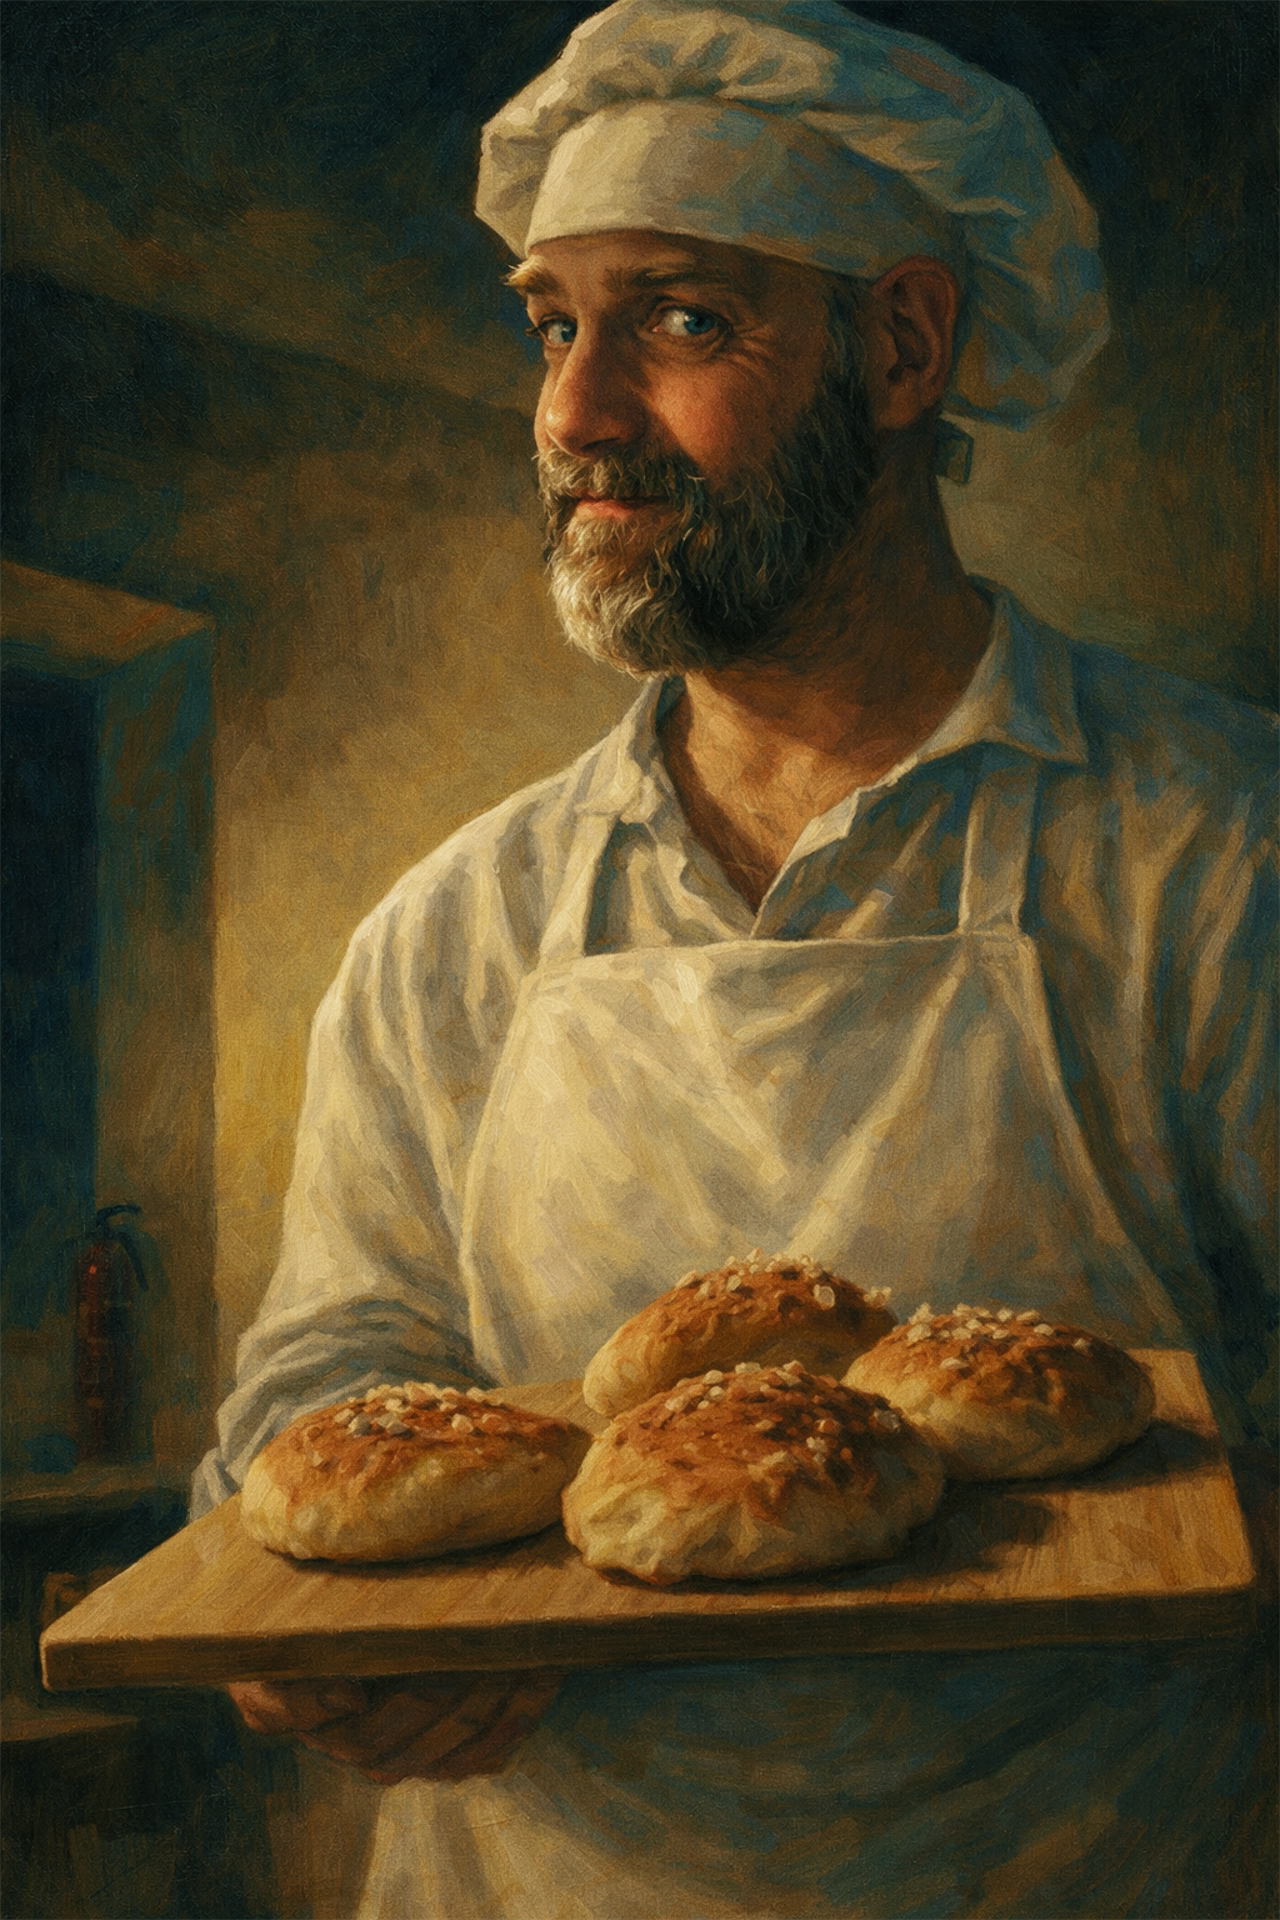
In addition to being a writer, I am a compulsive baker. I go through lots of bouts of baking tons of bread, and I thought that this would be a nice way for me to pass on something real, something a little different this morning other than a story or a song or a thought.
There is something deeply comforting about homemade bread. It is one of the best gifts I know how to give. You can carry it to a dinner, bring it to a birthday, or offer it to somebody just because. It feels personal. It feels generous. It feels like something made by hand and heart.
So here is a simple bread recipe for you.
Happy Easter!
Absolutely.
Simple Yeast Bread
By Tony Humrichouser
Makes
1 loaf
Ingredients
☐ 12g fresh yeast, or 7g dry yeast
☐ 320g room temperature water
☐ 500g strong white bread flour
☐ 8g salt
☐ 15g olive oil
☐ Preheat oven to 400 degrees
Before I begin
If my kitchen is 68 degrees, then my water should be at least 68 degrees too. If the kitchen is cooler, the dough may take a little longer to rise. If it is warmer, things may move along more quickly. On chilly mornings, I sometimes turn the oven on early to warm the kitchen a bit. I like to weigh and mix everything right in one bowl. When it comes time to knead, I do it on a clean table with no flour at all.
Method
☐ Step 1. Soften the yeast
Put the yeast into a large bowl.
Pour in the room temperature water.
Stir gently to soften the yeast.
If you are using dry yeast, make sure it dissolves well.
If you are using fresh yeast, it only needs to soften and loosen up.
☐ Step 2. Add the dry ingredients and oil
Add the flour.
Add the salt.
Add the olive oil.
Mix everything together until there is no dry flour left anywhere in the bowl.
You are looking for a rough dough.
☐ Step 3. Knead the dough
Turn the dough out onto a clean counter or table.
Do not flour the surface.
Knead for 8 minutes.
Fold and push in a steady rhythm.
If the dough gets messy, use a scraper to gather it back together and keep going.
☐ Step 4. Rest the dough
Let the dough sit for 2 to 3 minutes.
It may still look a little bumpy, and that is all right.
This short rest helps the dough relax.
☐ Step 5. Shape for the first rise
Dust the top of the dough lightly with flour.
Turn and tuck the edges inward all the way around until you have a ball with a smoother top.
Place it back in the bowl.
Dust the top lightly again.
Cover it.
Let it rise for 1 hour.
☐ Step 6. Preshape and bench rest
Turn the dough out onto the table.
Since this is one loaf, do not divide it.
Gently press out some of the gas.
Shape it again into a round.
Cover it.
Let it rest for 15 minutes.
☐ Step 7. Prepare the loaf tin
Lightly oil the loaf tin.
A thin coat of oil or butter is enough.
☐ Step 8. Shape the loaf
After the 15 minute rest, gently press the dough into a rough circle with your fingertips.
Fold the sides inward at a slight angle.
Press it down a bit.
Roll it up tightly into a loaf shape.
Pinch the seam closed.
Place it into the oiled tin with the smooth side up and the seam on the bottom.
If you like, score the top with a few diagonal cuts.
☐ Step 9. Final rise
Cover the loaf.
Let it rise for about 1 hour.
It should look clearly puffed and feel softer and more delicate than when it first went into the tin.
☐ Step 10. Bake the loaf
Place the loaf in the 400 degree oven.
If using steam, carefully pour boiled water into a hot roasting tray in the oven.
Bake for about 40 minutes.
Check at 30 minutes if you like.
☐ Step 11. Check for doneness
The loaf should be golden.
It should sound hollow on the bottom when tapped.
If the underside seems pale, remove it from the tin and place it directly on the oven rack for another 5 to 10 minutes.
If you pull it and you think it may be damp or wet - go ahead and just put it back in the oven and place it directly on the rack minus whatever baking dish you used.
☐ Step 12. Cool
Remove the loaf from the oven.
Let it cool on a rack.
Try to let it cool before slicing.
Easter note
This is simple bread, and that is part of its grace. It does not need to be fancy to be wonderful. If it comes out a little uneven, that is all right too. That means it was made in a real kitchen, by real hands, on a real day.
And if it doesn’t turn out…that is OK! Nothing ventured, nothing gained.